This tutorial is no longer relevant. Use B4JPackager11: B4JPackager11 - the simplest way to distribute UI apps
When you compile in Release mode the complete app is packed as an executable jar file.
You can distribute this jar file and run it on Windows, Mac or Linux.
However there are cases where you want to convert this jar file to a native executable. For example if you want to set a custom icon.
You can use a free tool named Launch4j to convert the jar file to a native Windows executable.
1. Download Launch4j: http://sourceforge.net/projects/launch4j/files/launch4j-3/
2. Compile your app in Release mode.
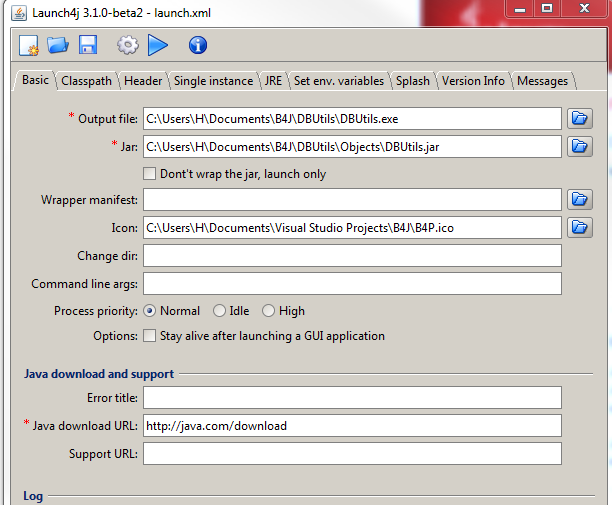
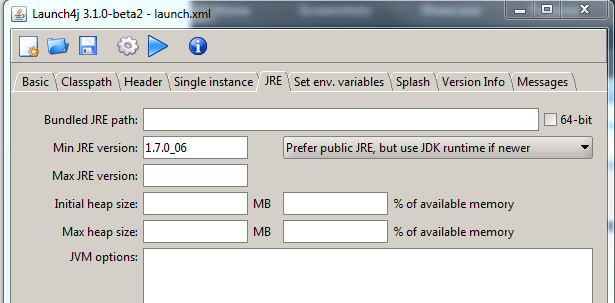
3. Set the icon and other required parameters:


4. Click on the Build Wrapper button.

The output will be a standard Windows executable.
For example:

Another distribution option: https://www.b4x.com/android/forum/threads/ui-apps-packaging-self-contained-installers.56854/
B4J Packager will create a single installer file that includes an embedded Java Runtime.
You can distribute this jar file and run it on Windows, Mac or Linux.
However there are cases where you want to convert this jar file to a native executable. For example if you want to set a custom icon.
You can use a free tool named Launch4j to convert the jar file to a native Windows executable.
1. Download Launch4j: http://sourceforge.net/projects/launch4j/files/launch4j-3/
2. Compile your app in Release mode.
3. Set the icon and other required parameters:


4. Click on the Build Wrapper button.

The output will be a standard Windows executable.
For example:

Another distribution option: https://www.b4x.com/android/forum/threads/ui-apps-packaging-self-contained-installers.56854/
B4J Packager will create a single installer file that includes an embedded Java Runtime.
Last edited:


